So before we dive deep into strategies to monetize your site…
I thought it would be helpful to do a brief overview of the steps involved in setting up a website and review some basic website terminology, so that we’re all on the same page moving forward.
The goals for this post are to:
- Describe the basic steps involved in setting up your own website.
- Define some of the confusing website lingo that gets thrown around.
- Help you feel like you understand the process a whole lot more than before you read this article!
Please note that this post contains affiliate links. This means that I will earn a percentage of sales made through those links, at no extra cost to you.
Why do you need a website in the first place?
These days, it’s pretty much a requirement to have a web presence.
Your website is, at the bare minimum, the place where people will go to learn more about you and your business, and find out how to contact you about your services.
At its best, your website is a space where you can build community and relationships with those you serve, and get them to know, like, and trust you before purchasing your services.
But, before you can get started building your online presence, it’s important to have a general understanding of what’s involved in building a website.
The Basics:
A website requires a few things:
1) A domain name
2) Hosting
3) A content management system
4) A theme
Once you have all four of those items, you’re good to go!
Now…. let’s talk about what these items are, how to set them up, how much they cost, and why you need them.
#1: The domain name.
This is the URL that people to type in to get to your website.
For example, some domain names I own are ericajulson.com, theunconventionalrd.com, theunconventionalrdbb.com, functionalnutritionanswers.com, and functionalnutritionlibrary.com.
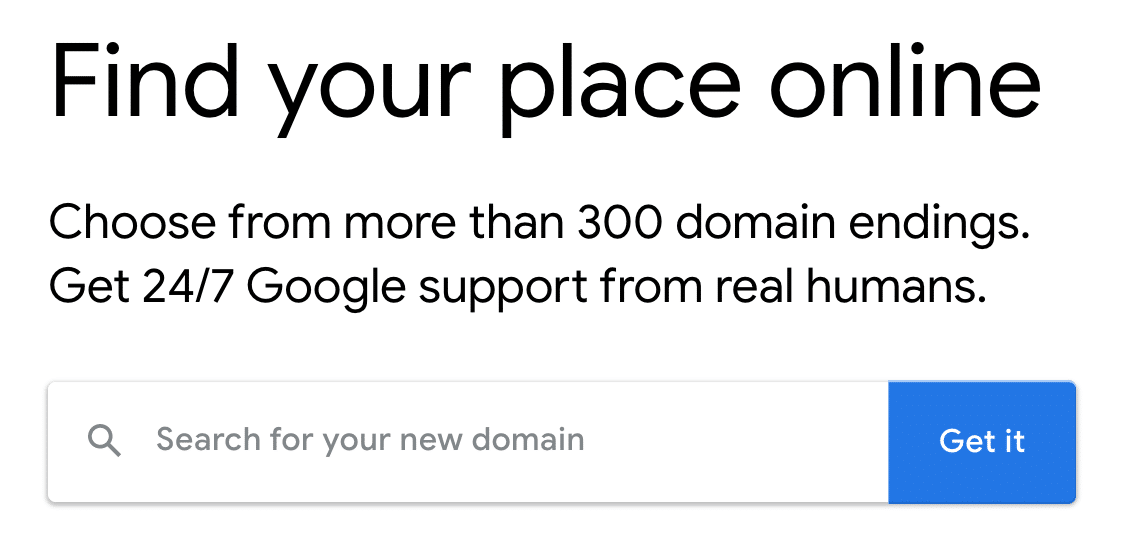
You can register for a domain name by using a domain registration service, like Google Domains.
Domain name registration is relatively cheap (around $12 per year), but you have to continue paying that fee annually for as long as you use the name.
As websites become more and more ubiquitous, it’s becoming harder and harder to think of a domain name that hasn’t already been registered!
Before you get too attached to your dream domain name, I recommend doing a quick domain name availability search in Google Domains.
You’d be surprised at how many URLs are already taken!
(This is in part due to domain name squatters who scoop up popular sounding domain names, and then try to sell them for thousands of dollars)
If your ideal domain name is already taken, you can:
1) Scrap the name and come up with a new one.
2) Purchase a slight variation of the name, perhaps using a different ending than .com (for example, if nutritioncompany.com was already taken, you could try a spin off name, like nutrition.co instead).
3) Purchase that ideal domain from the person who already owns it.
(Hint: even though the current owner may SAY they want thousands of dollars for it, you may be able to contact the owner and purchase it for a few hundred instead. Especially if they are just squatting on the domain and not actually using it).
Overall, registering for a domain name is pretty easy. The hardest part is usually coming up w. the name!
Once you’ve found a name that is available, you may be faced with the option to just purchase the .com, or also buy the .net, .org, .info versions.
I’d say 99% of the time, you only need the .com.
Next, you may be asked whether or not you want to add privacy to your domain.
What the heck is privacy?
Basically, you’ll pay another annual fee (usually <$10/yr) to keep your personal contact information that is automatically linked to your domain (name, address, email address, & phone number), private.
*Of note, Google Domains does NOT charge an extra fee for the privacy feature. It comes included in the cost of your domain.
I personally always choose the privacy feature. It helps cut down on some of the spam emails & calls you’ll get from web design companies etc.
Lots of websites, like GoDaddy, will try to upsell you on a bajillion things along the way, like custom email addresses, website set up, etc., but you don’t need any of those things right now. All you need is the domain registration & privacy.
They’ll also try to get you to purchase multiple years of domain registration, but that is unnecessary at this point. What if you change niches, or want to start a new website next year? No need to lock yourself into a 5-year plan. You can just set it to auto-renew annually, and cancel the service if you no longer need that domain.
Alright, so now you have your domain name chosen and purchased. You’re all good to go, right??
Not quite.
So far, all you own is a URL, like www.ericajulson.com, but right now, there is currently nothing ON your website.
If you type in the URL, you’ll just see a page that says “This website is parked for free, by GoDaddy.com” or simply a “This website cannot be reached” message.
To build an actual website, you’ll need item #2….
#2: HOSTING.
What is hosting?
Well, all websites require files to run, and these files have to be stored somewhere, right?
This is where hosting comes in.
You pay a company to “host” (aka store) your website files on their servers and make sure that they are accessible & running smoothly.
To get started, simply purchase a hosting plan through a company like SiteGround, BigScoots, etc… there are SO many options), and then link it to the domain name you just purchased.
Then, when someone types your URL into their web browser’s address bar, their computer will connect with your host’s server, and display the pages of your website.
Generally, there are four types of hosting:
- Shared hosting.
- VPS hosting.
- Dedicated hosting.
- Cloud hosting.
Most of these options also offer managed hosting, which we’ll get to in a sec.
Shared hosting is what many small business websites and small blogs use.
With shared hosting, the files for multiple small websites are hosted on the same server, and the cost is split amongst the various website owners.
This saves the hosting company money, since they don’t need to build a server for each customer, and saves the business owner money since they probably couldn’t afford to pay for a private server right off the bat.
If you are brand new and just starting out, shared hosting usually works just fine while your site is still small. **Please note that you WILL need to upgrade once you actually start getting website traffic, so please plan/budget for this future expense.
However, there are occasions where it can become a problem. For example, if you have a post go viral and many people try to access your site at once, it could overwhelm the capacity of the shared server, causing your site to go down.
Be aware, that technically if ANY of the sites on your shared server “go viral” or have a huge surge in traffic, ALL the sites on that shared server will be affected. But, that is a risk many are willing to take for lower costs.
If/when you start to suffer site outages or super slow loading times due to high traffic volume, then it’s time to start thinking about moving away from shared hosting. But for beginners, it’s a great affordable solution until you reach traffic levels of thousands of visitors per day.
Shared hosting typically costs around $10 per month, often paid upfront annually (so about $120 out of pocket).
If you are interested in purchasing affordable shared hosting, I recommend getting started with SiteGround.
If you can fit it in your budget, BigScoots is an even better choice (better customer service and significantly more server resources, but slightly higher priced).
With VPS (virtual private server) hosting, you still share a server, but with fewer people, and you have dedicated space.
It is still relatively affordable AND you’re guaranteed certain resources, so if someone else’s site on your server has a huge traffic surge, you won’t be affected.
The downside is that there is still a cap on your resources, so if your own site gets an unexpected surge in traffic and exceeds the limits, your site could still go down.
Additionally, since all your files are on one server, if that server ever went down, your site would too.
VPS hosting typically costs around $20/mo and is best for bloggers with under 400,000 pageviews per month
Examples of popular VPS hosting services include:
Dedicated server hosting, in contrast, is just what it sounds like.
You pay a premium to have your OWN private server, and not have to share it with anyone.
The capacity of that server (and the amount you pay monthly) will depend on the amount of traffic visiting your site each day/month. More traffic = higher cost.
Most bloggers don’t need to switch to dedicated hosting until they consistently have over 400,000 pageviews per day.
Dedicated hosting typically costs over $200 per month.
Examples of popular dedicated server hosts include:
While this is a great option for bigger bloggers, all of your files are still on just one server, so technically, if it goes down, your website will go down too.
Cloud hosting is probably the future of website hosting.
With cloud hosting, all your files are stored in “the cloud” across multiple virtual servers.
There are a few major perks with cloud hosting:
-
- You are not affected by anyone else’s website traffic.
- There are unlimited resources for you across all the servers, so you can scale on-demand, instantaneously & your site won’t go down.
- If one virtual server goes down, the others will pick up the slack.
- You only pay for the resources you use (fees can vary month to month).
- Your website will serve files to readers from the virtual server closest to their location, making your site much faster.
The cons are that cloud hosting can be more difficult to set up and is sometimes more expensive than shared or VPS hosting.
Cloud hosting typically starts at around $20/mo for DIY set-up and increases from there.
Cloud hosting works for ALL levels of bloggers since you pay based on the amount of resources you use. Costs will increase as you grow.
Examples of popular cloud hosting providers include:
-
- Cloudways (Vultr HF)
Now, there is also an additional option on most hosting sites: Managed WordPress hosting.
If you sign up for managed WordPress hosting, your hosting company will take over the management of your WordPress install and updates.
If you are not a technology-minded person, and want support in setting up your website, then managed WordPress hosting might be a good option for you.
However, you do lose a small amount of control with these automatic updates. This is probably not a big deal unless you want to get really technical with your website!
Managed WordPress hosting may also have slightly faster website loading speeds, since all of their servers are optimized for JUST WordPress.
Once you’ve purchased your hosting, you will be asked to link the hosting to the domain name of your choice.
YOU’RE ALMOST DONE!!!
Now, you’re ready to install the third piece of the website puzzle:
#3: Your Content Management System (CMS).
What is a content management system?
It’s basically an interface that allows you to:
1. Design your website
2. Add content
3. Keep everything organized and functional (without having to know any coding….phew!).
By far, the most popular and widely used CMS is WordPress.
WordPress has been around since 2003, and is what MOST people use to manage their websites.
Since it is so popular and widely used, it is constantly being updated, bugs and security risks are being fixed, and there are an endless number of companies offering free and paid themes and plugins to make your website look great and function at its best.
You can learn more about WordPress on their website, www.wordpress.org. (Note: this is NOT the same things as www.wordpress.com, which is a free blogging platform and NOT a content management system for your own website. You want to visit the .org to learn more about the CMS).
Another huge perk? It’s super easy to install WordPress on your website. Like literally one click.
Typically you just go to your hosting control panel (easy to find once you’re logged in) and choose “WordPress One-Click Install”, wait for it to finish, and you’re good to go!
Now, how do you log into your website to start adding content?
Well, the easiest way is to go to the default login url.
Basically, just type in your url, and add /wp-admin to the end of it, like so: www.yourdomainname.com/wp-admin
(You can always change the login URL later, but that’s what it will be when you first install WordPress).
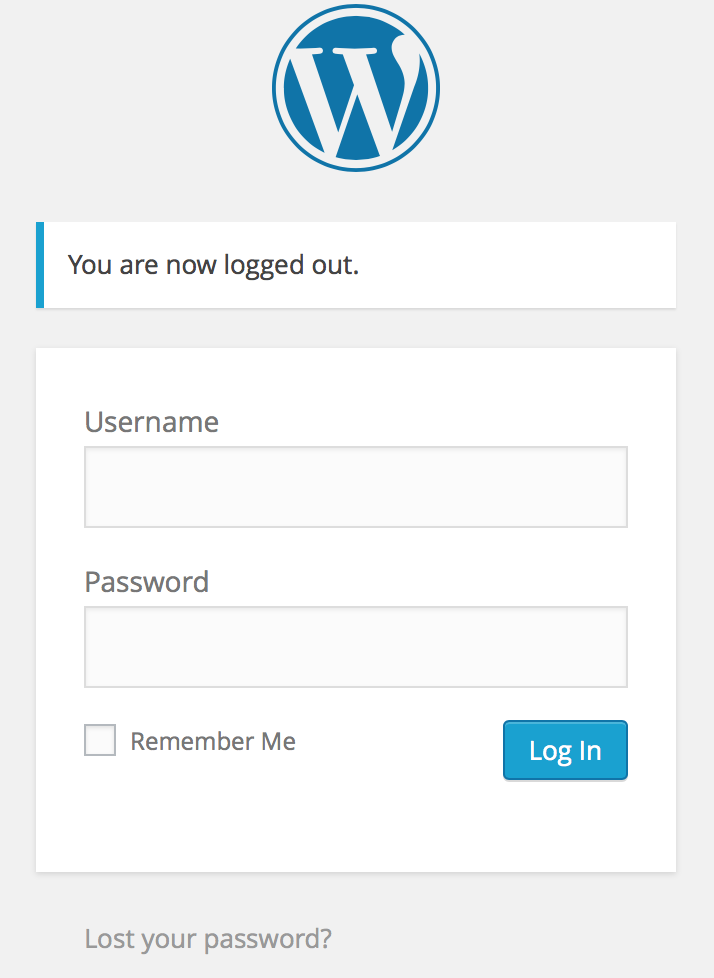
This will bring up a login portal that looks like this:

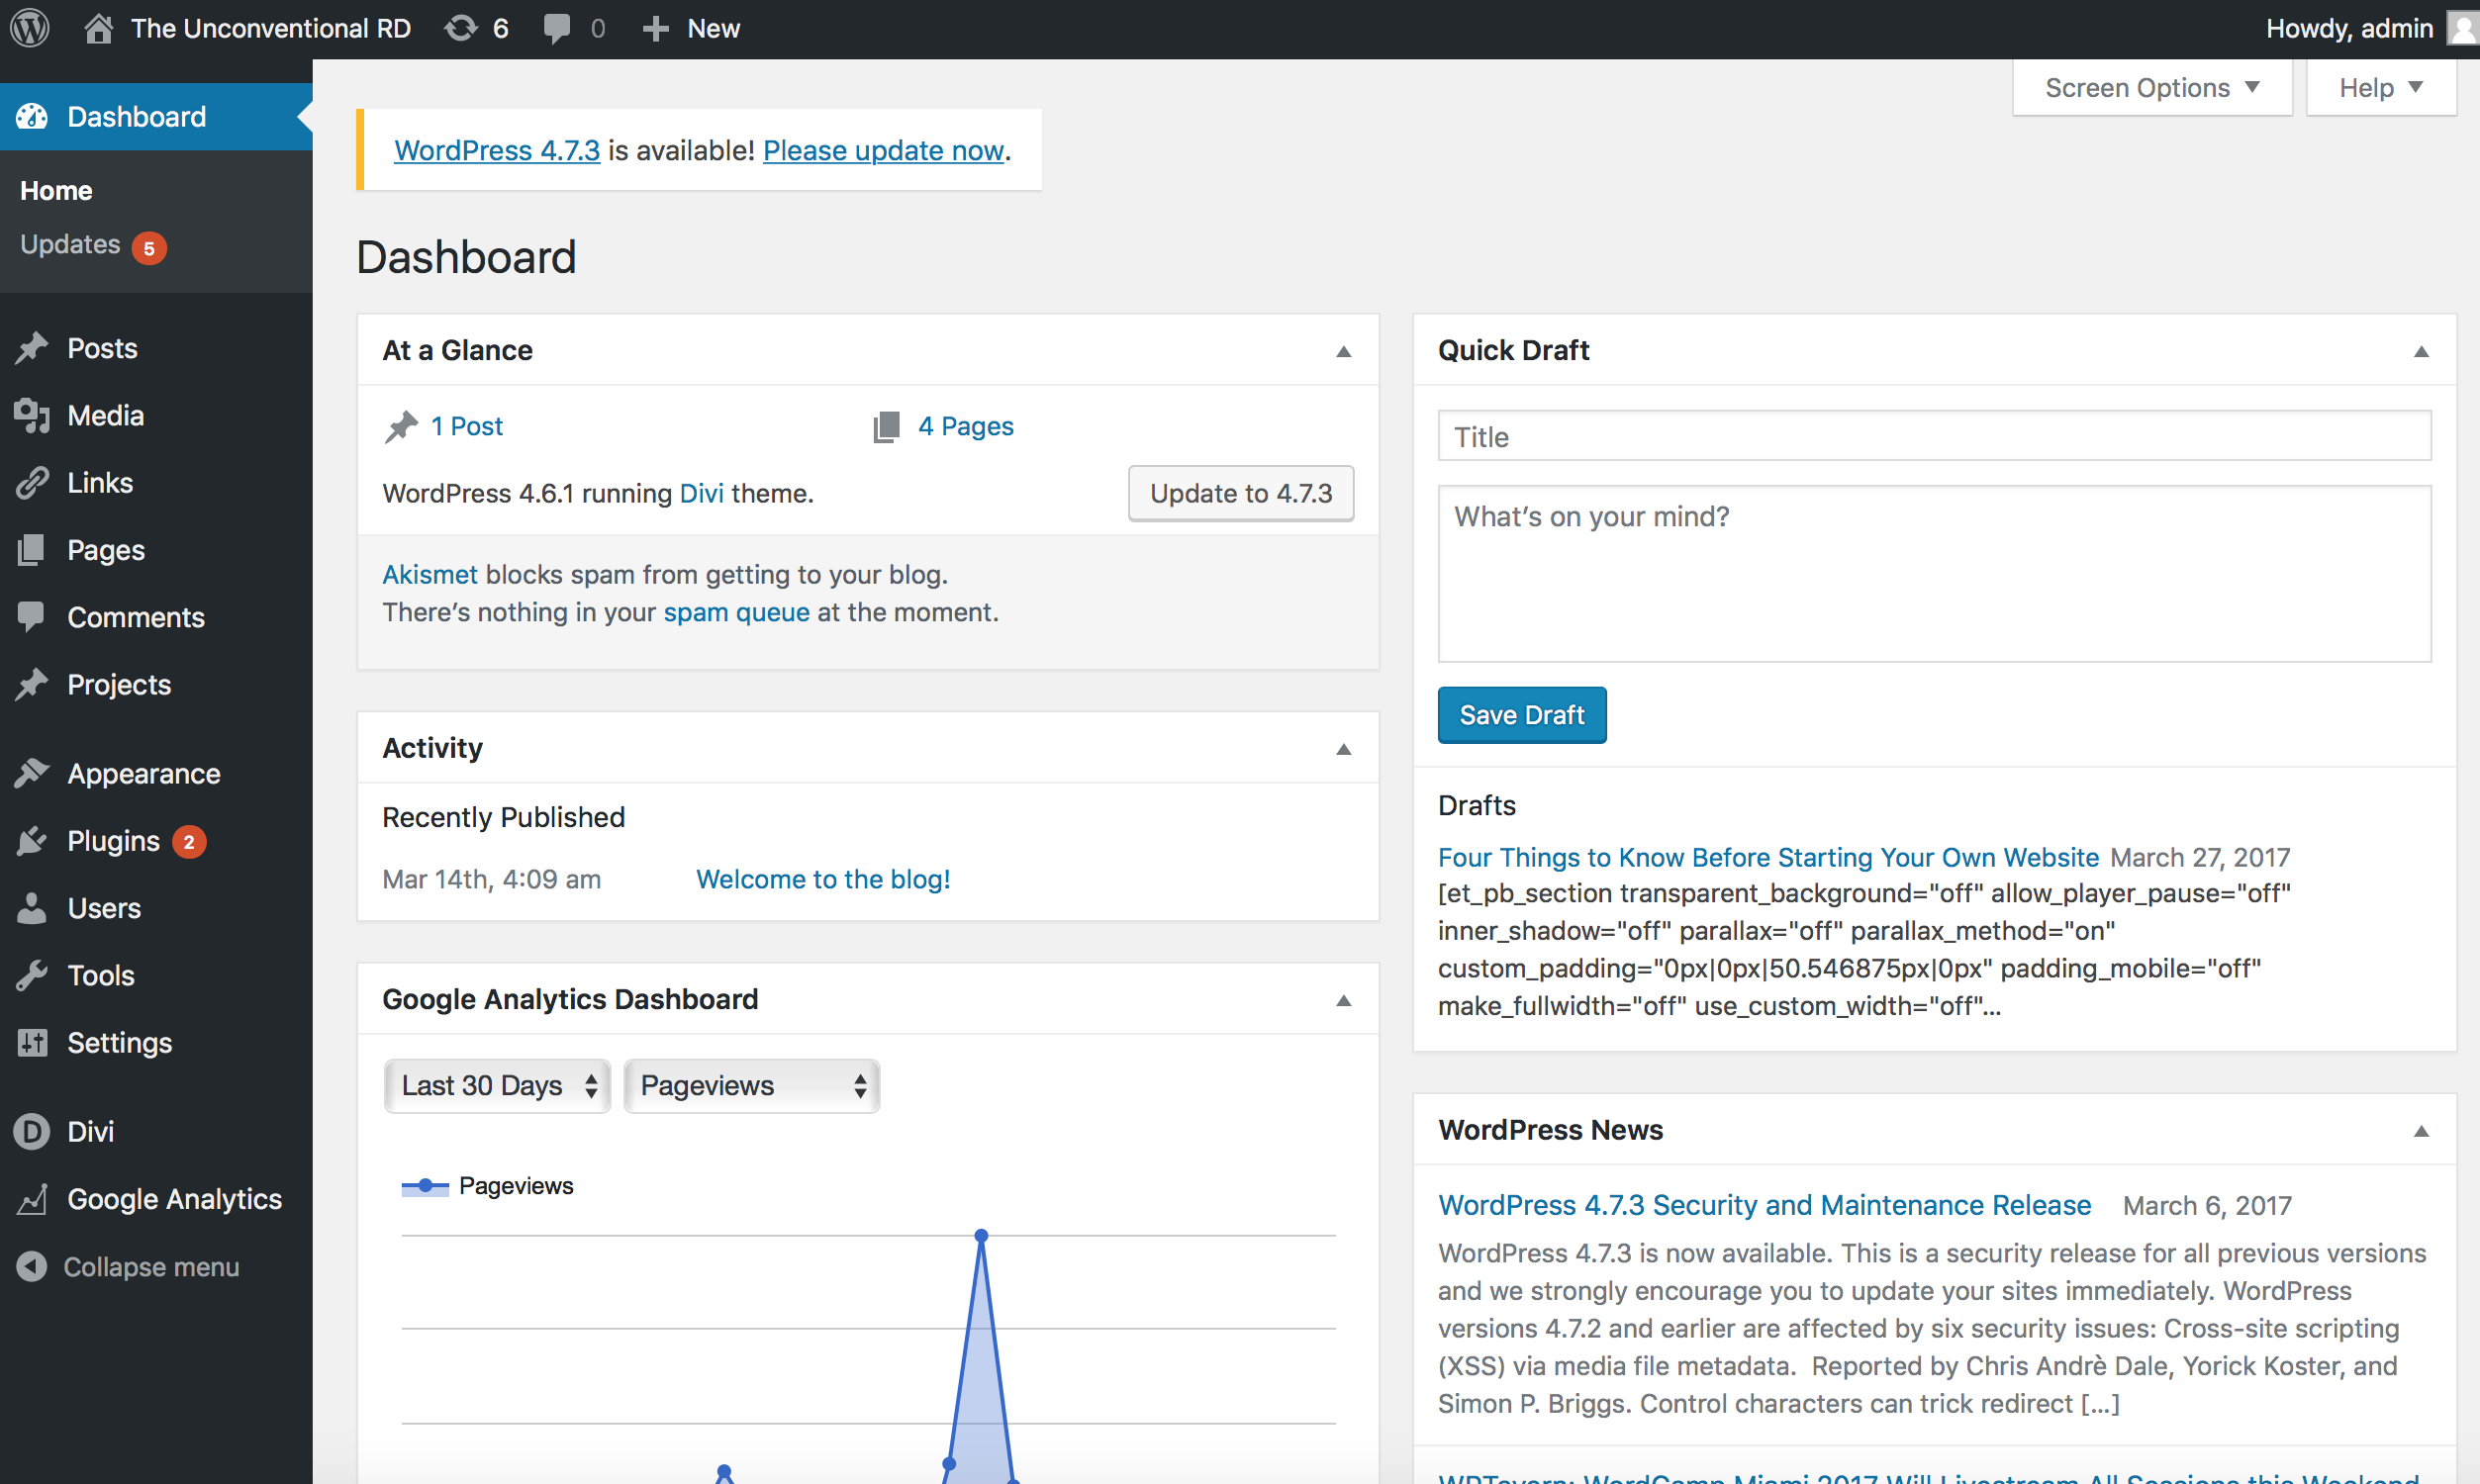
Once you’re logged in, you’ll see a dashboard that looks like this:

And from here, there’s just one final step to get your website up and running:
#4: Choosing a theme.
What is a WordPress theme?
It’s basically the “design” of your website.
WordPress themes are packages of code that web designers have put together that will make your website look a specific way once you’ve installed them.
There are a bunch of free themes offered within WordPress when you first install it…. But honestly, they are not very easy on the eyes.
These days, many people either:
1. Purchase a theme for a relatively low cost ($20-$150).
2. Hire a designer to create a custom website for them (this usually costs several thousand dollars though).
The choice really depends on:
– Your comfort level with computers.
– Your ability to teach yourself new skills and implement them.
– The amount of time you have available to work on it.
If you’ve got some extra cash stored away, and time is of the essence, by all means, hire a designer!
Just make SURE that at the end of your relationship with them, that YOU own the access to your website, and don’t have to pay your designer a fee to access/log into your own site every time you want to change something.
I recommend chatting with Whitney Bateson if you’re interested in hiring a designer. (She’s even been a guest on The Unconventional RD podcast! You can check that episode out here.)
When trying to decide which designer might be right for you, it’s helpful to look at the “portfolio” section of their website & view other projects they have worked on.
No portfolio tab? Probably not a good sign!
However… if you….
– Love learning new things.
– Have the time to take on a new project.
– Need to keep on a budget.
Then purchasing a theme and making small tweaks to customize it is probably the best option for you.
You can find some really great themes out there for relatively cheap prices.
I currently recommend using the Astra theme + Elementor plugin for nutrition/wellness bloggers and the Genesis Framework and Feast Plugin for food bloggers.
Once you have chosen your theme, you simply download the zip file, upload it to WordPress, & select it as your theme.
Then you can teach yourself how to customize the layout.
The theme should come with some instructions for customization, and Google will be your BFF for the rest.
Summary:
To recap, here are the four things you need to do get your website up and running:
1. Register a domain name.
2. Purchase a hosting plan & link it to your domain.
3. Download and install WordPress.
4. Purchase and install a theme.
I hope this post was helpful for those of you who are still in the planning stages of launching your site!
From here on out, most articles will be for people who already have a WordPress website up and running, so stay tuned for more content on blogging, growing your traffic, and monetizing your site!
P.S.
PS – If you haven’t checked it out yet, I totally recommend joining The Unconventional RD Community on Facebook, listening to my podcast & connecting with me on social media! (Facebook, Instagram, Twitter)
Best,
Erica
Erica Julson is a registered dietitian turned digital marketing pro. She has over 12 years of experience blogging and building online businesses and has taught over 900 wellness professionals inside her signature program, SEO Made Simple.


Hi Erica,
Great post! I was curious, you mentioned the word “coding”, is that required to know how to setup and design your wordpress site? I posted about using WIX vs wordpress on your FB page. Still trying to wrap my head around all of this, there is a huge learning curve for non-techies opting for wordpress. The word “coding” sounds scary. I trialed Divi but it just added another layer of confusion for me. I am still not sure if I will go with wordpress or not, but I am spending lots of money on hosting and any additional assistance from someone at upwork to help learn wordpress. I’m not entirely sure if this is the road to go, I hope I see light at the end of the wordpress tunnel! Thanks for the well outlined first steps!
Hey Sarah! Knowing coding is a huge perk, because it can help you customize parts of your theme, but no, it’s not required. I would recommend selecting a theme that requires minimal tweaking/customizing & go from there. You can always improve upon your site as more funds become available! Totally fine to start where you’re at and grow as you learn. But stick with it! WordPress really is the best long term, and allows you pretty much endless customization. You’ve got this!
Just curious why you don’t recommend Bluehost…
Check out my free “How to Start a Website” tutorial! I go over this extensively 🙂 https://www.theunconventionalrdbb.com/free-start-a-website-tutorial/