If you run a website and decide to work with an SEO, marketing expert, or even a VA, you may need to add a user to your Google Analytics account.
Adding a user allows other people to access your Google Analytics data (without having to share your personal username or password).
This article will walk you through all the steps you need to add a user and share access to your Google Analytics account.

Would you like to save this?
Step 1: Log into Google Analytics
Go to the Google Analytics website and log in. (If you don’t have a Google Analytics account yet, follow these instructions to get one set up.)
Step 2: Select the web property you want to share access to
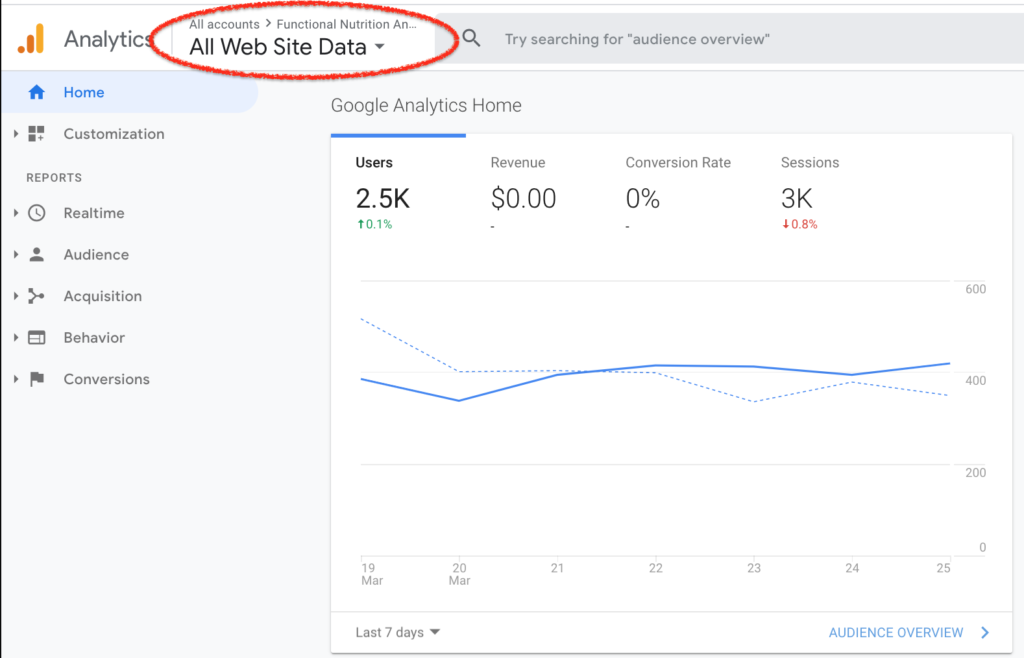
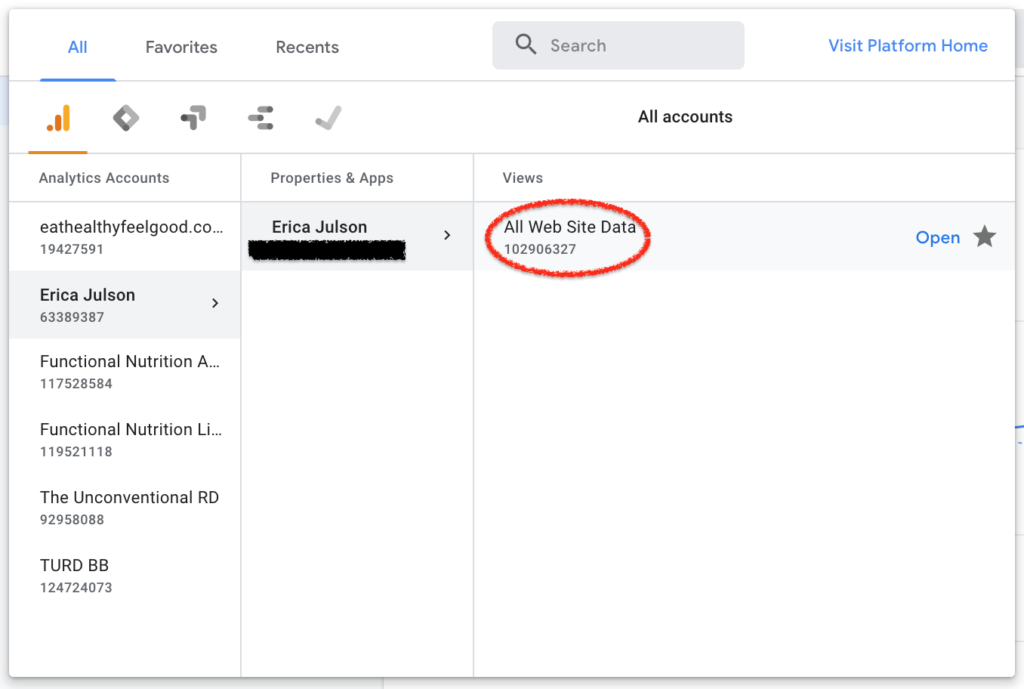
Click the drop-down menu and select the property you want to share access to:
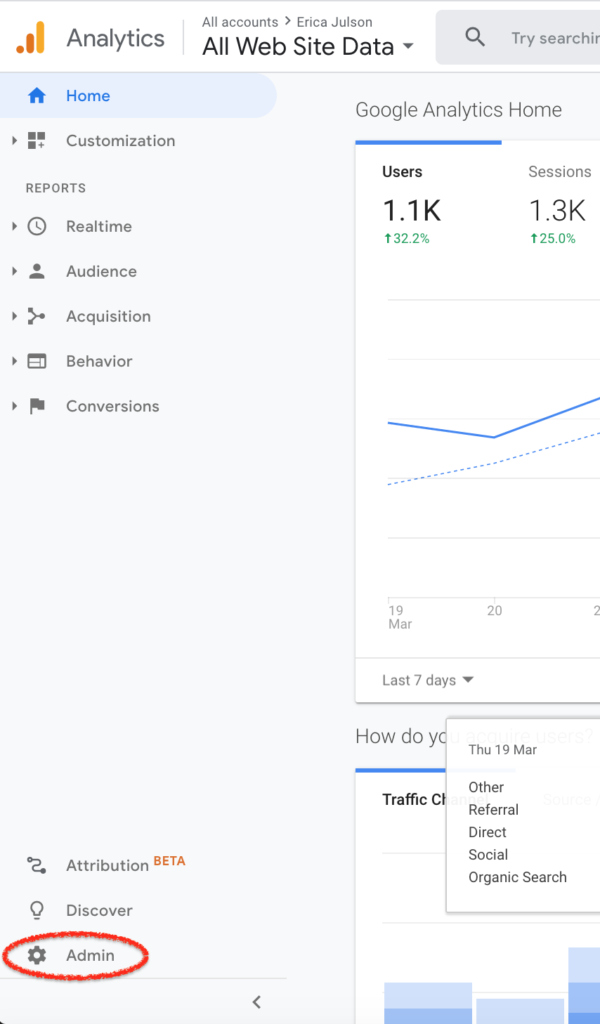
Step 3: Go to “Admin”
On the bottom-left, click “Admin”
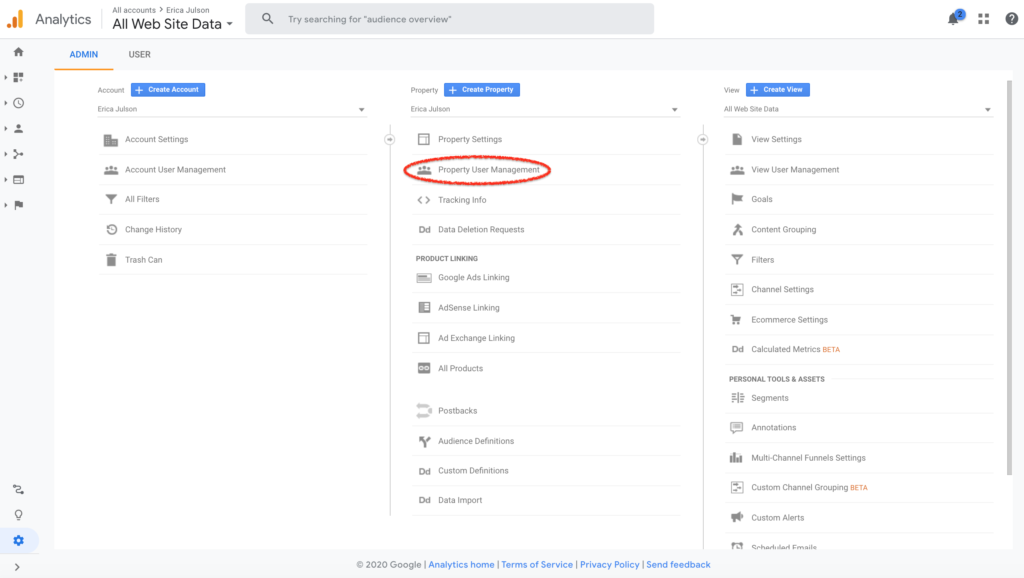
Step 4: Select Property User Management
In the middle column, select “Property User Management”
Step 5: Add New User
On this screen, you will see a list of all the users who currently have access to your Google Analytics account.
Click the blue “+” sign to add a new user.

Step 6: Enter the person’s email address
Enter the email address of the person you want to give access to. {If you are sharing access with us, enter [email protected]}
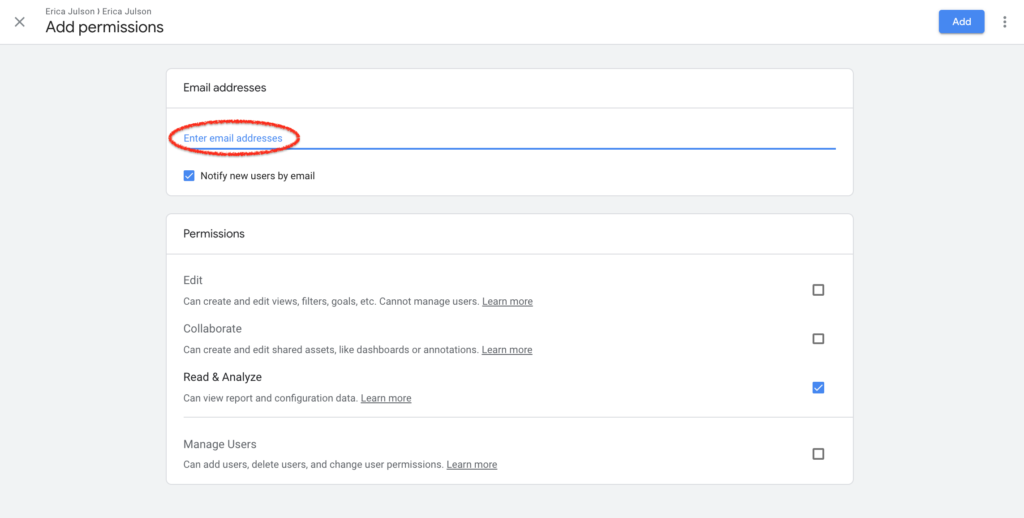
Keep the “Notify new users by email” box checked if you want the person to get an email letting them know they have access to your account.
Step 7: Set the user’s permissions
Choose which level of permissions you’d like to give the new user.
Edit Access gives someone the most access to your account. It allows the user to create new goals/views/filters in your Google Analytics account. Most marketing managers and SEO experts will want this level of access.
Collaborate Access allows the user to create dashboards (that display data in nice ways), but they cannot set up goals or filters (which are used to track things like email sign-ups, conversions, etc.).
Read & Analyze Access is the default. It allows someone to view your Google Analytics data, but they are not able to create dashboards, goals, filters, etc. This is basically a “view only” mode & is most appropriate when you don’t want someone to be able to work on your Google Analytics data.
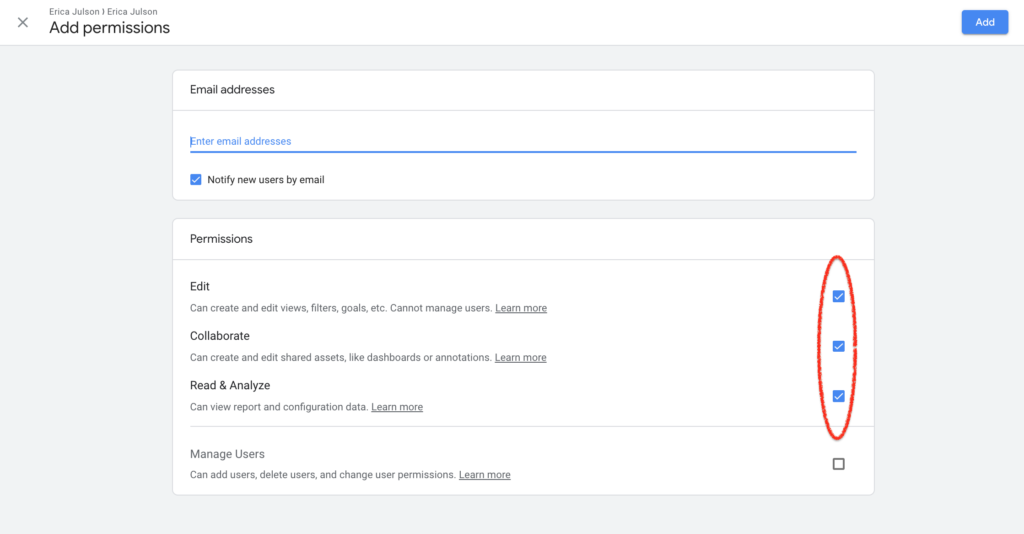
If you are giving us access to your account, please provide us with EDIT access.
When you select “Edit” access, it will automatically select all 3 levels of access. This is normal and expected. When someone has Edit access, they automatically have the ability to collaborate, read, and analyze as well.
Don’t check the box for “Manage Users” unless you want the person to be able to add or remove people from your account.
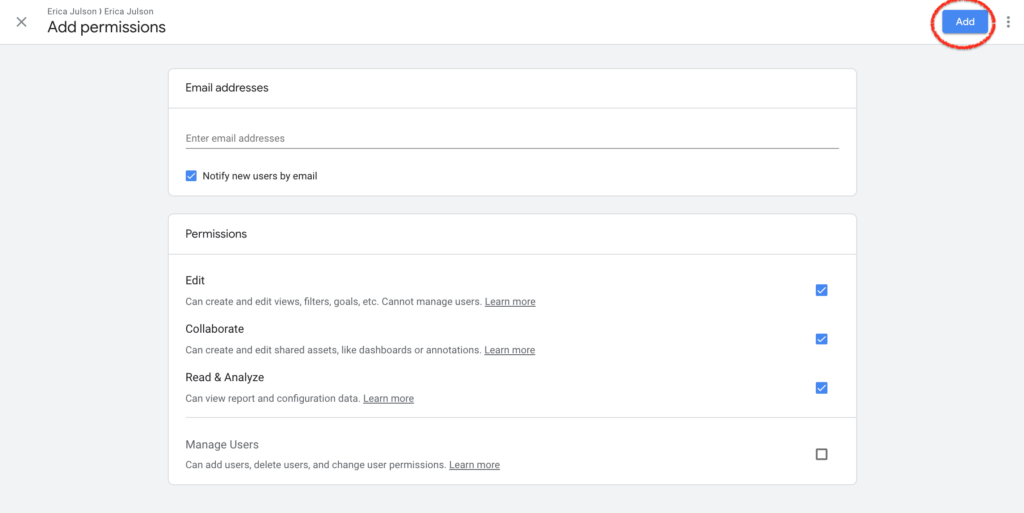
Step 8: Click “Add”
Click “add” in the upper right-hand corner. Then congrats – you’re done!
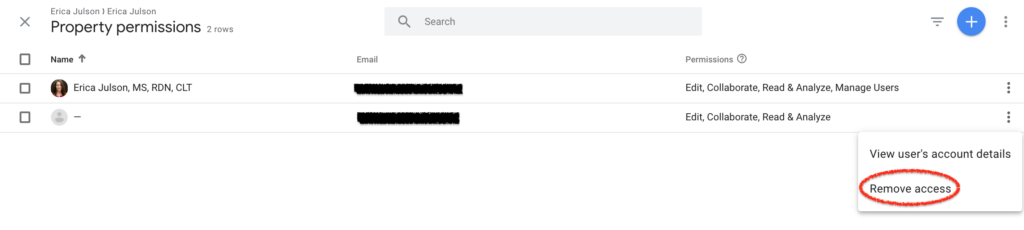
Verify that the new user is listed under property permissions.

The person you gave access will receive an email confirming that they now have access to your account.

Optional: Remove Access
If you ever want to remove someone’s access to your Google Analytics account, simply click the 3 dots to the right of the user’s name and select “Remove access”.

Erica Julson is a registered dietitian turned digital marketing pro.
She has over 15 years of experience blogging and building online businesses and has taught over 1,000 wellness professionals inside her programs.
Since starting out online, Erica has earned over $1 million dollars in revenue and built 5 different blogs. She now uses her knowledge to help others succeed in the online space, via her YouTube channel, podcast, blog, Facebook group, and online course.
Transparency and integrity are amongst her core values and you'll love her personable, down to earth teaching style.